It's been a while but I'm glad to be back here blogging away about my creative little pursuits. I was inspired to undergo this project when my attention was brought to an old chair I picked up off the side of the road about a year ago. When I looked to evaluate whether it was worth keeping I noticed that it was actually in pretty good shape considering its kerbside-rescue-past. There weren't any joints loose, it wasn't wobbly and there were no major bumps or dents. Apart from being covered in dirt, dust and our dogs hair and the odd bit of flakey paint it wasn't going to take much to get this chair ready for some new paint.

After a bit of hand sanding and a hose down we were ready for paint. Having painted a chair similar to this about a year ago, I had discovered that spray paint seemed to give the best colour coverage and finish, and was a whole lot faster. So this time I headed straight to the spray paint section of my local Bunnings. I stood trying to choose a colour for quite a long time. Should I go for a bright colour to make a pop in my room? But I already have a bright yellow chair in my room. Maybe I should go for a light colour? Maybe dark? I also wanted to give the legs a 'dipped' effect to throw that into the mix. I ended up deciding that a darkish grey with metallic silver dipped legs would look good. I ended up going with a Medium Grey paint. I held off the metallic silver at this point incase I changed my mind.

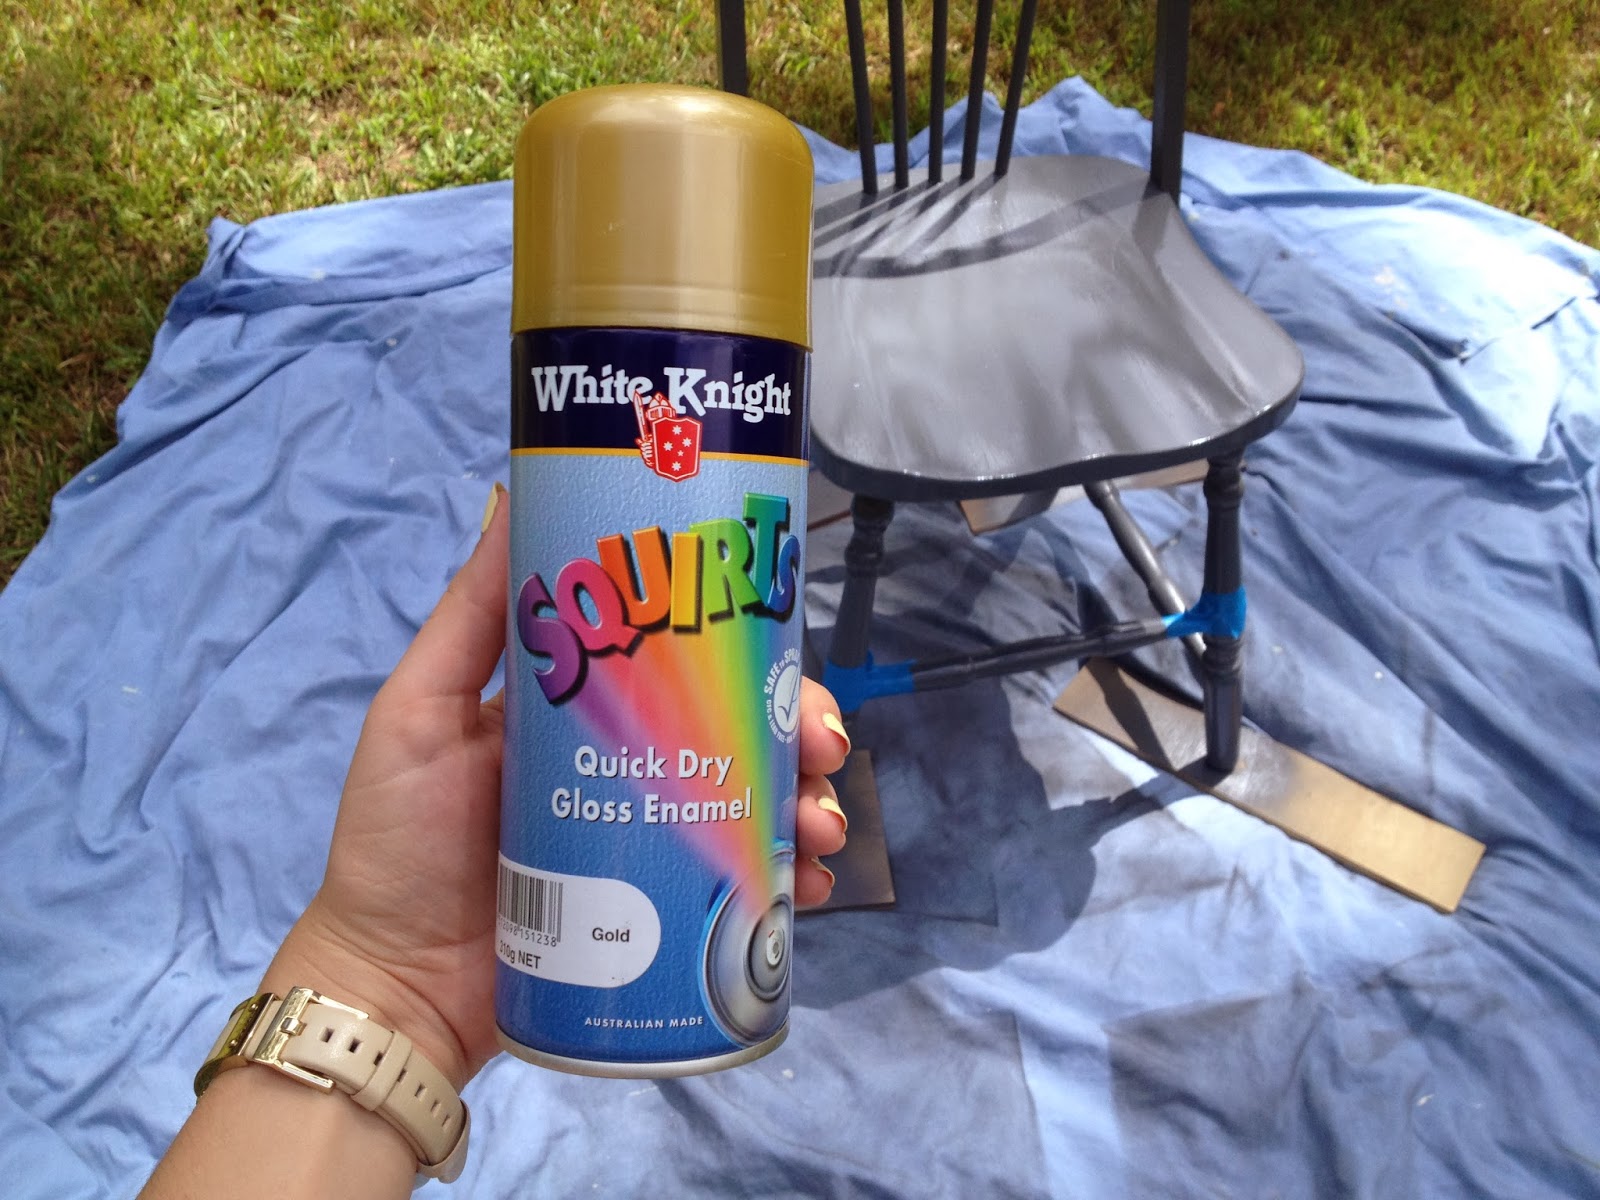
Three coats and two days of trying to squeeze some painting in between rain later The chair was looking good and fresh. Time for the dip. Whilst rummaging around the spray paint in the garage I stumbled across a gold spray paint. At first I had been thinking silver, but now gold was looking like a nice option. After testing on a piece of paper, I concluded that it was metallic enough for what I wanted, saving a few dollars and a trip back to Bunnings. Next stop, taping up.
I decided to have the gold go all the way up to the bottom of the higher two bars connecting the legs. I don't really know why, it just seemed visually like a good place to cut it off. It probably has something to do with the rule of thirds. I nervously pressed down on the nozzle, but as soon as the first bit of gold hit the chair I cheered for joy. It was so shinny! And so pretty!
I was immediately so glad that I ended up going with gold instead of silver because I think the contrast between the two colours is delightful.